The Best Fluffy Pancakes recipe you will fall in love with. Full of tips and tricks to help you make the best pancakes.

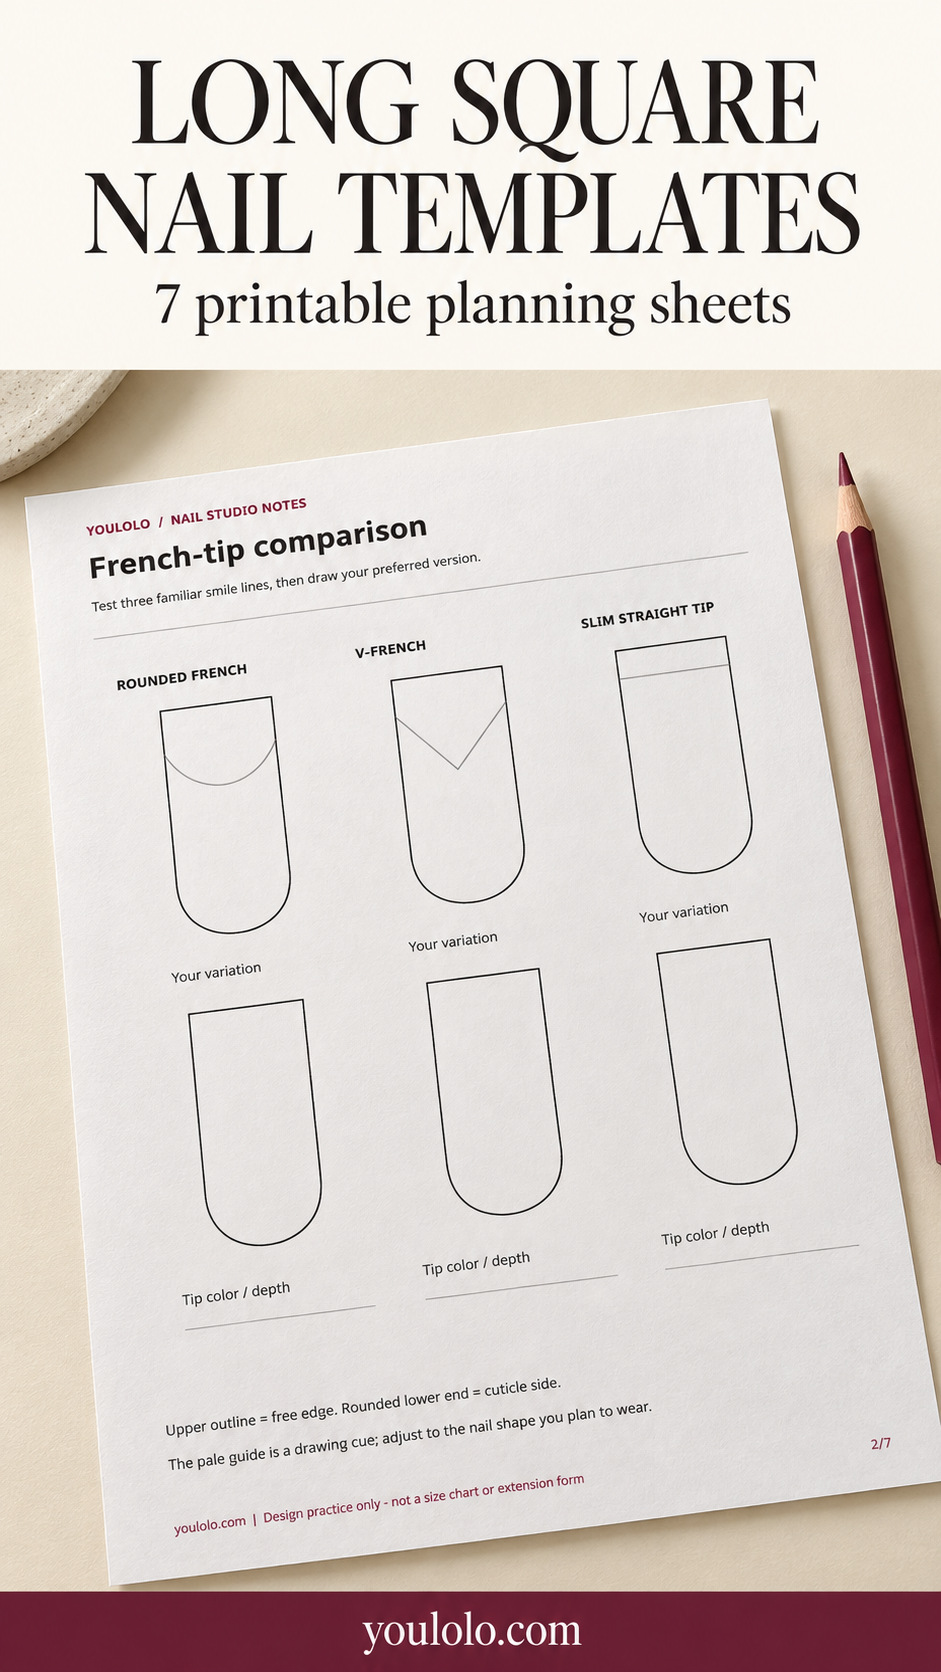
A long square nail template lets you solve design questions before they reach the manicure table. You can compare French-tip depth, move a flower away from the center or check whether a single accent feels balanced across the hand. A sketch does not need to be artistic to make those decisions clearer.
These seven original printable sheets each have a different job: planning a five-nail set, comparing French tips, testing accent placement, choosing colors, coordinating both hands, practicing motifs and preparing an appointment brief. Use the sheet that answers your current question instead of filling every page by default.
Read the Outline Before You Start
The straight upper edge represents the free edge of a long square nail. The rounded lower end represents the cuticle side. Keep that orientation in mind when drawing a French tip or placing an accent near the base. The parallel sides are a planning guide for the square silhouette.
The outlines are deliberately enlarged. They are not actual nail sizes, press-on sizing charts, cutting patterns or extension forms. Their purpose is to help you compare color, placement and proportion. The final length, width and structure must be adapted to the nails you intend to wear.
How to Save, Print or Draw Digitally
Open the full-page sheet image before saving it so you keep the available resolution. Print on A4 paper with a fit-to-page setting, or allow your printer to scale it to Letter. Check the preview so the footer and the outer planning fields remain on the page. Because these are drawing guides rather than measured forms, small differences in print scale are acceptable.
For digital sketching, import the saved page into an app that accepts images. Put your drawing on a separate layer when possible and keep the original outline underneath. Duplicate the blank page before testing another version. You can also work with pencil first and add color only after the layout feels clear.
Seven Printable Sheets for Different Design Decisions
1. Your Five-Nail Set
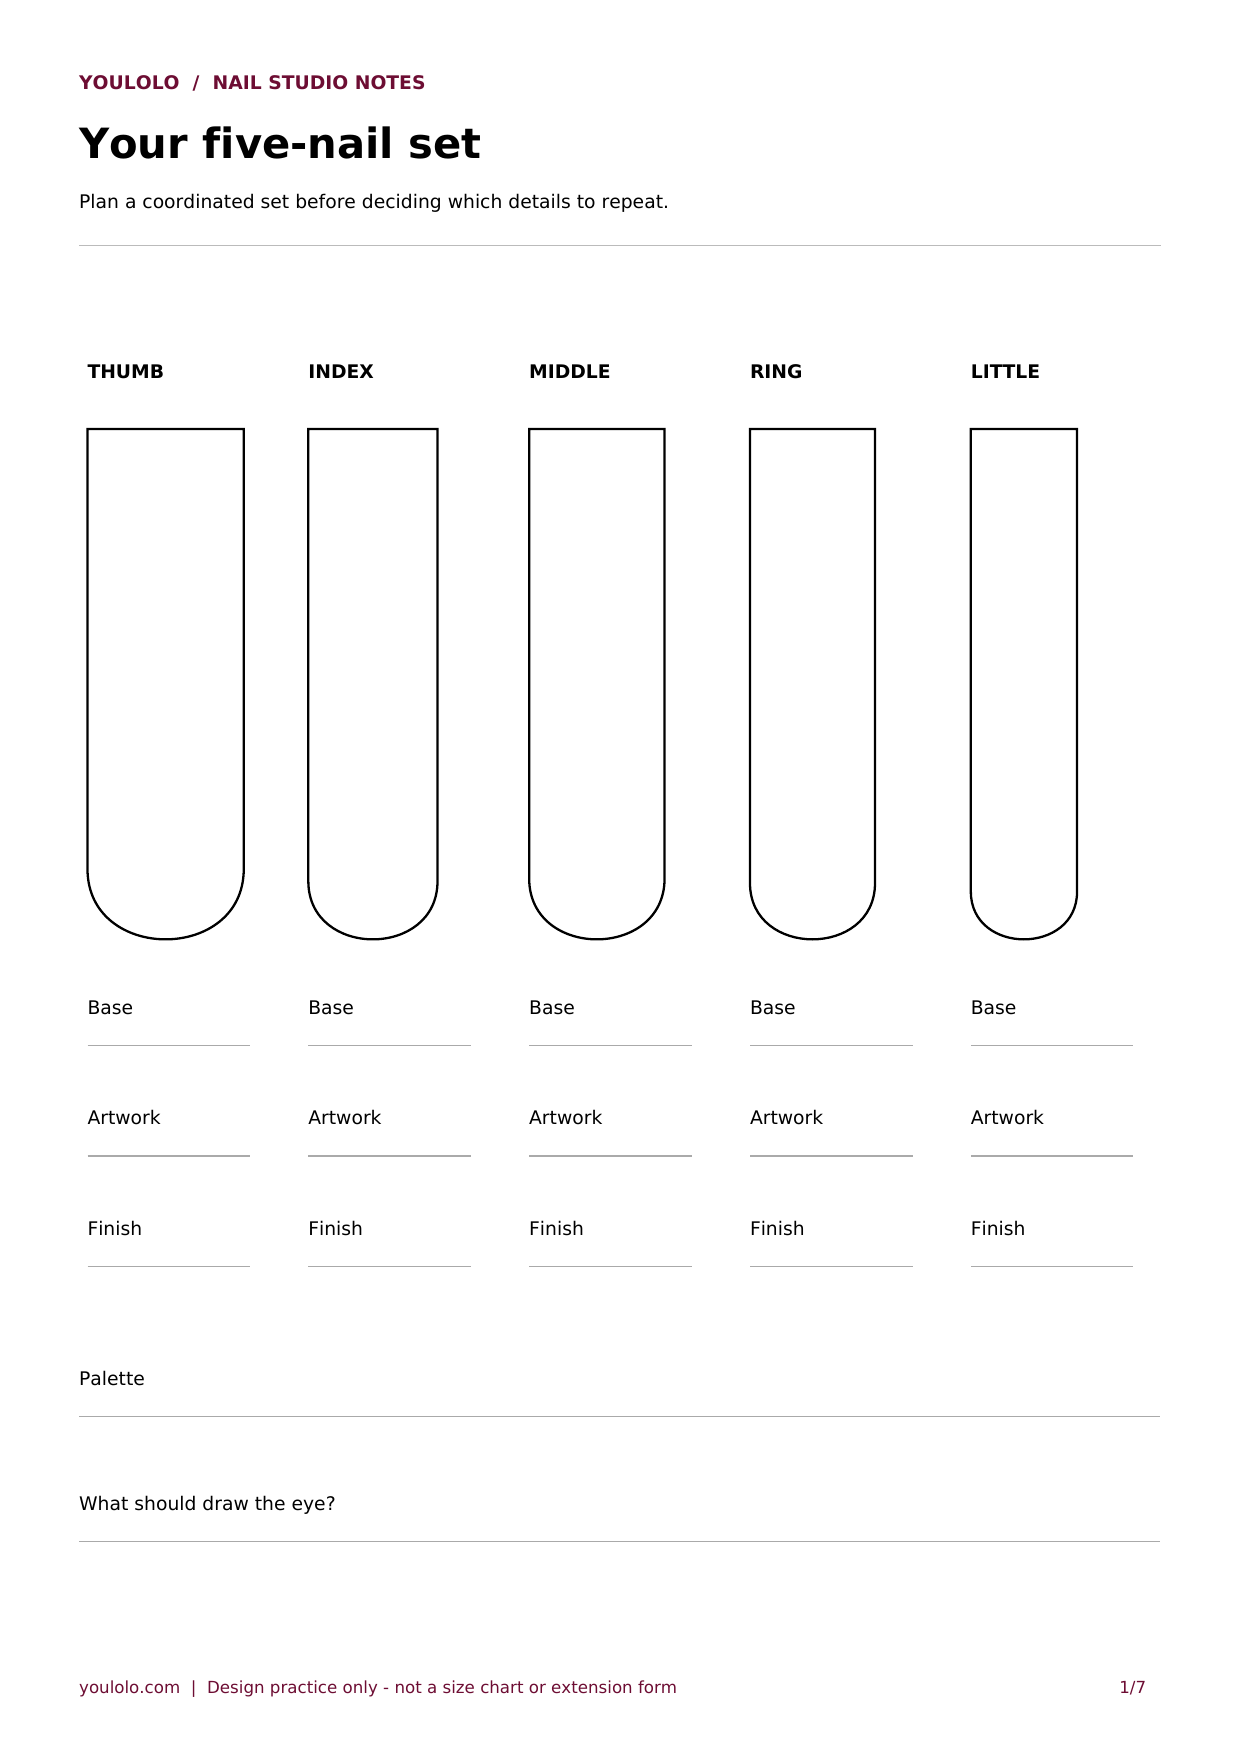
Start here when you know the palette but have not decided which nail will carry the artwork. The five labeled outlines give you a thumb, index, middle, ring and little-finger planning slot. Write the base, artwork and finish beneath each outline, even when several entries simply say plain pink. That repetition is useful: it reveals whether the decorated nail has enough quiet space around it in the full set. Use the bottom field to identify what should draw the eye first.
2. French-Tip Comparison
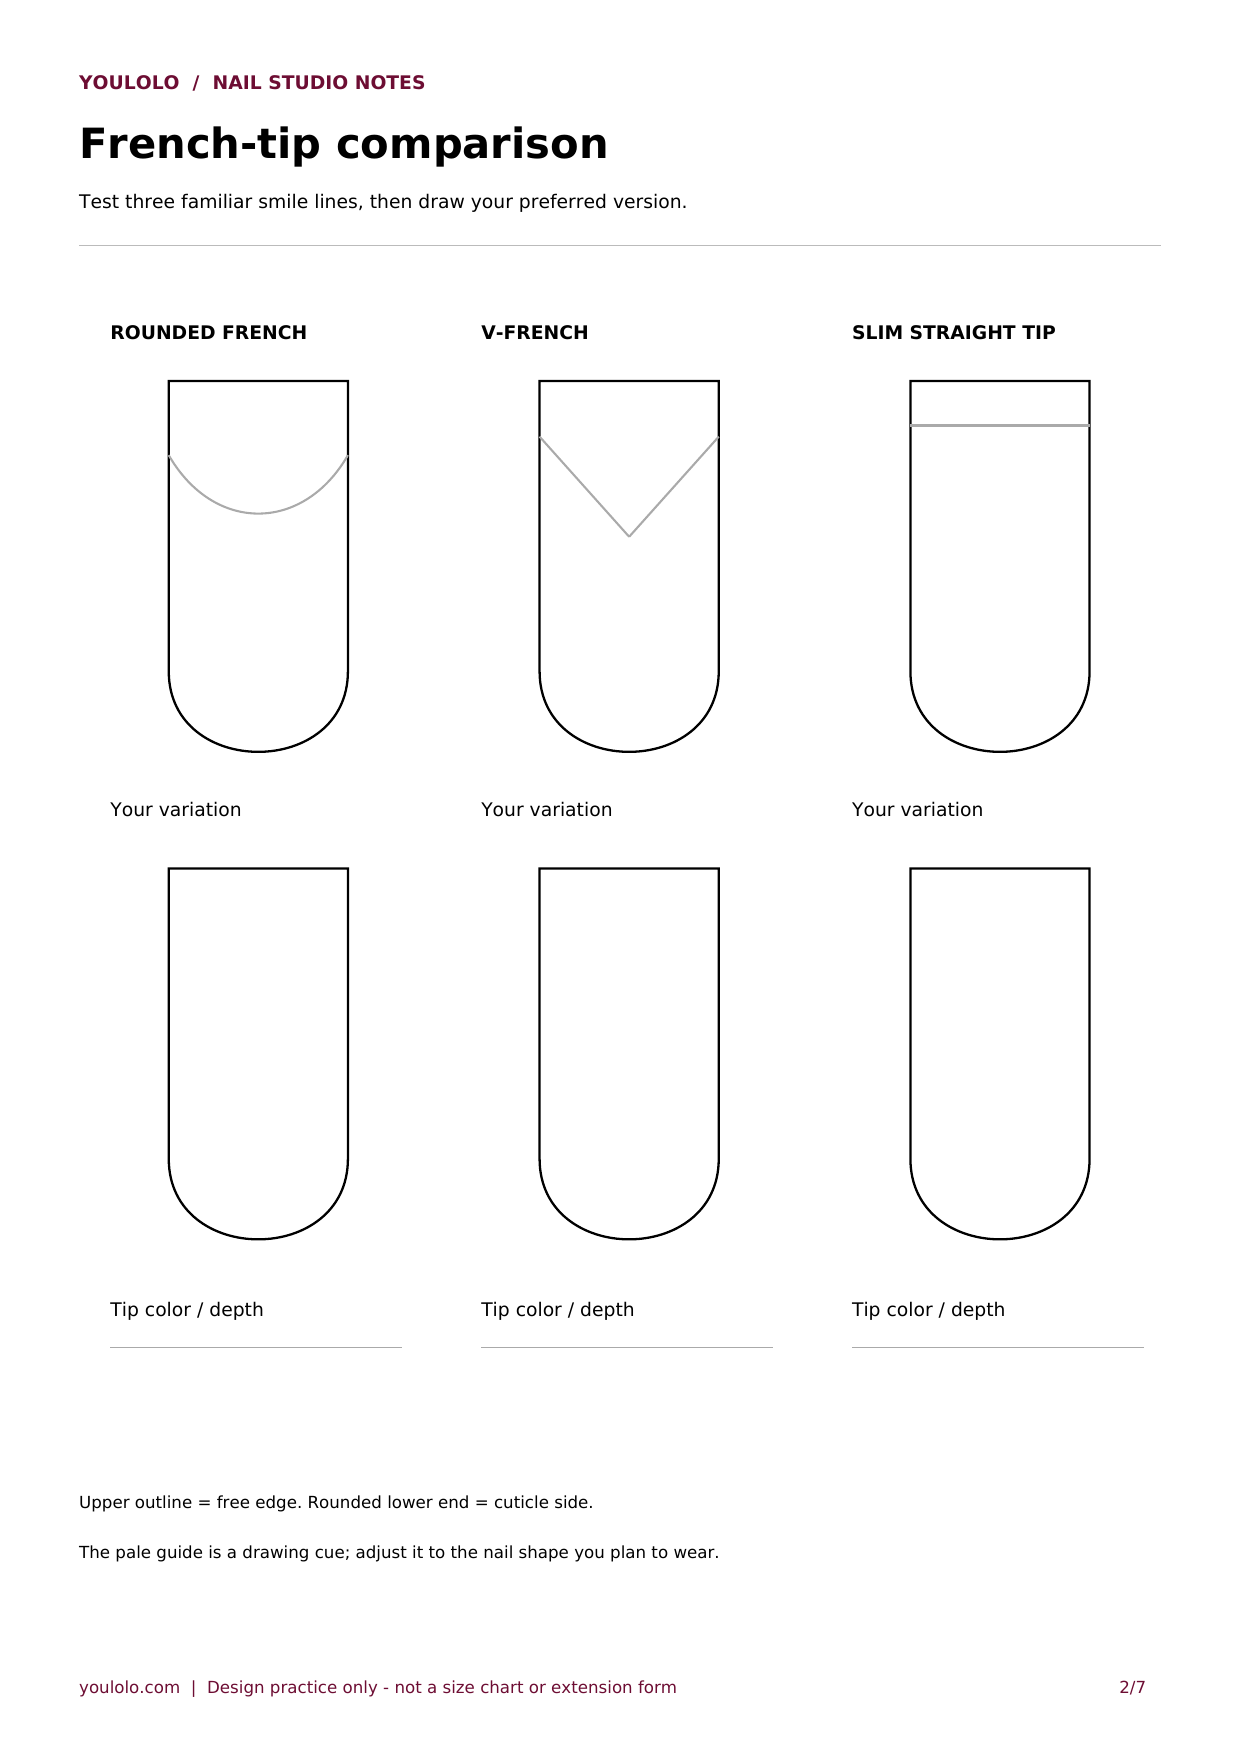
The upper row shows three drawing cues: a rounded French line, a V-shaped tip and a slim straight edge. The lower row is blank so you can sketch your own version beneath each reference. Keep the base color constant while comparing the amount of tip coverage. A deeper tip changes the balance of the nail even when the palette stays identical. The pale lines are comparison guides, not instructions to reproduce the same geometry on every nail shape.
3. One Accent, Three Placements
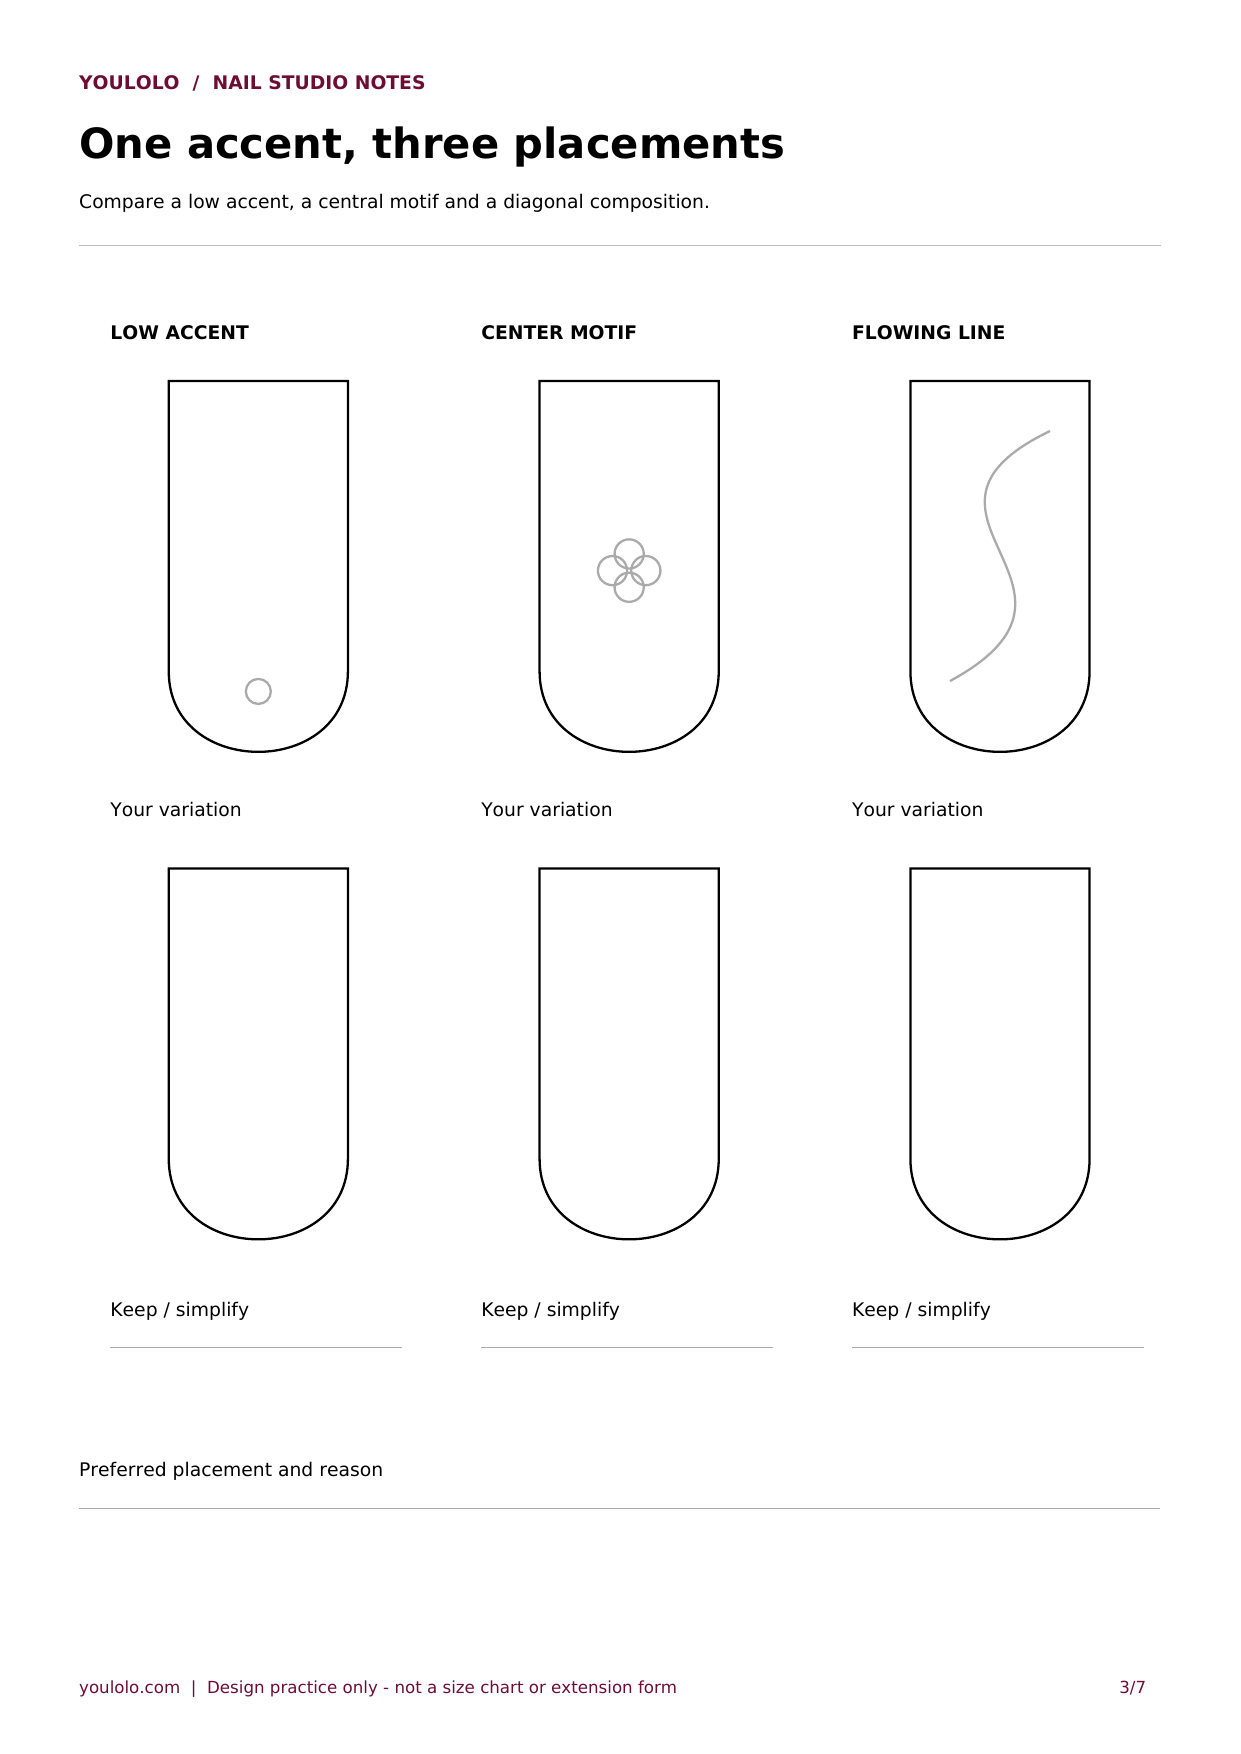
Use this page when you like a motif but cannot decide where it belongs. The upper examples suggest a low accent near the cuticle, a central motif and a flowing diagonal line. Draw the same subject in the blank row so placement is the main variable. Then compare the remaining open space. A tiny flower can feel quite different at the base and in the center; you do not need a new color scheme to test that difference.
4. Color and Finish Study
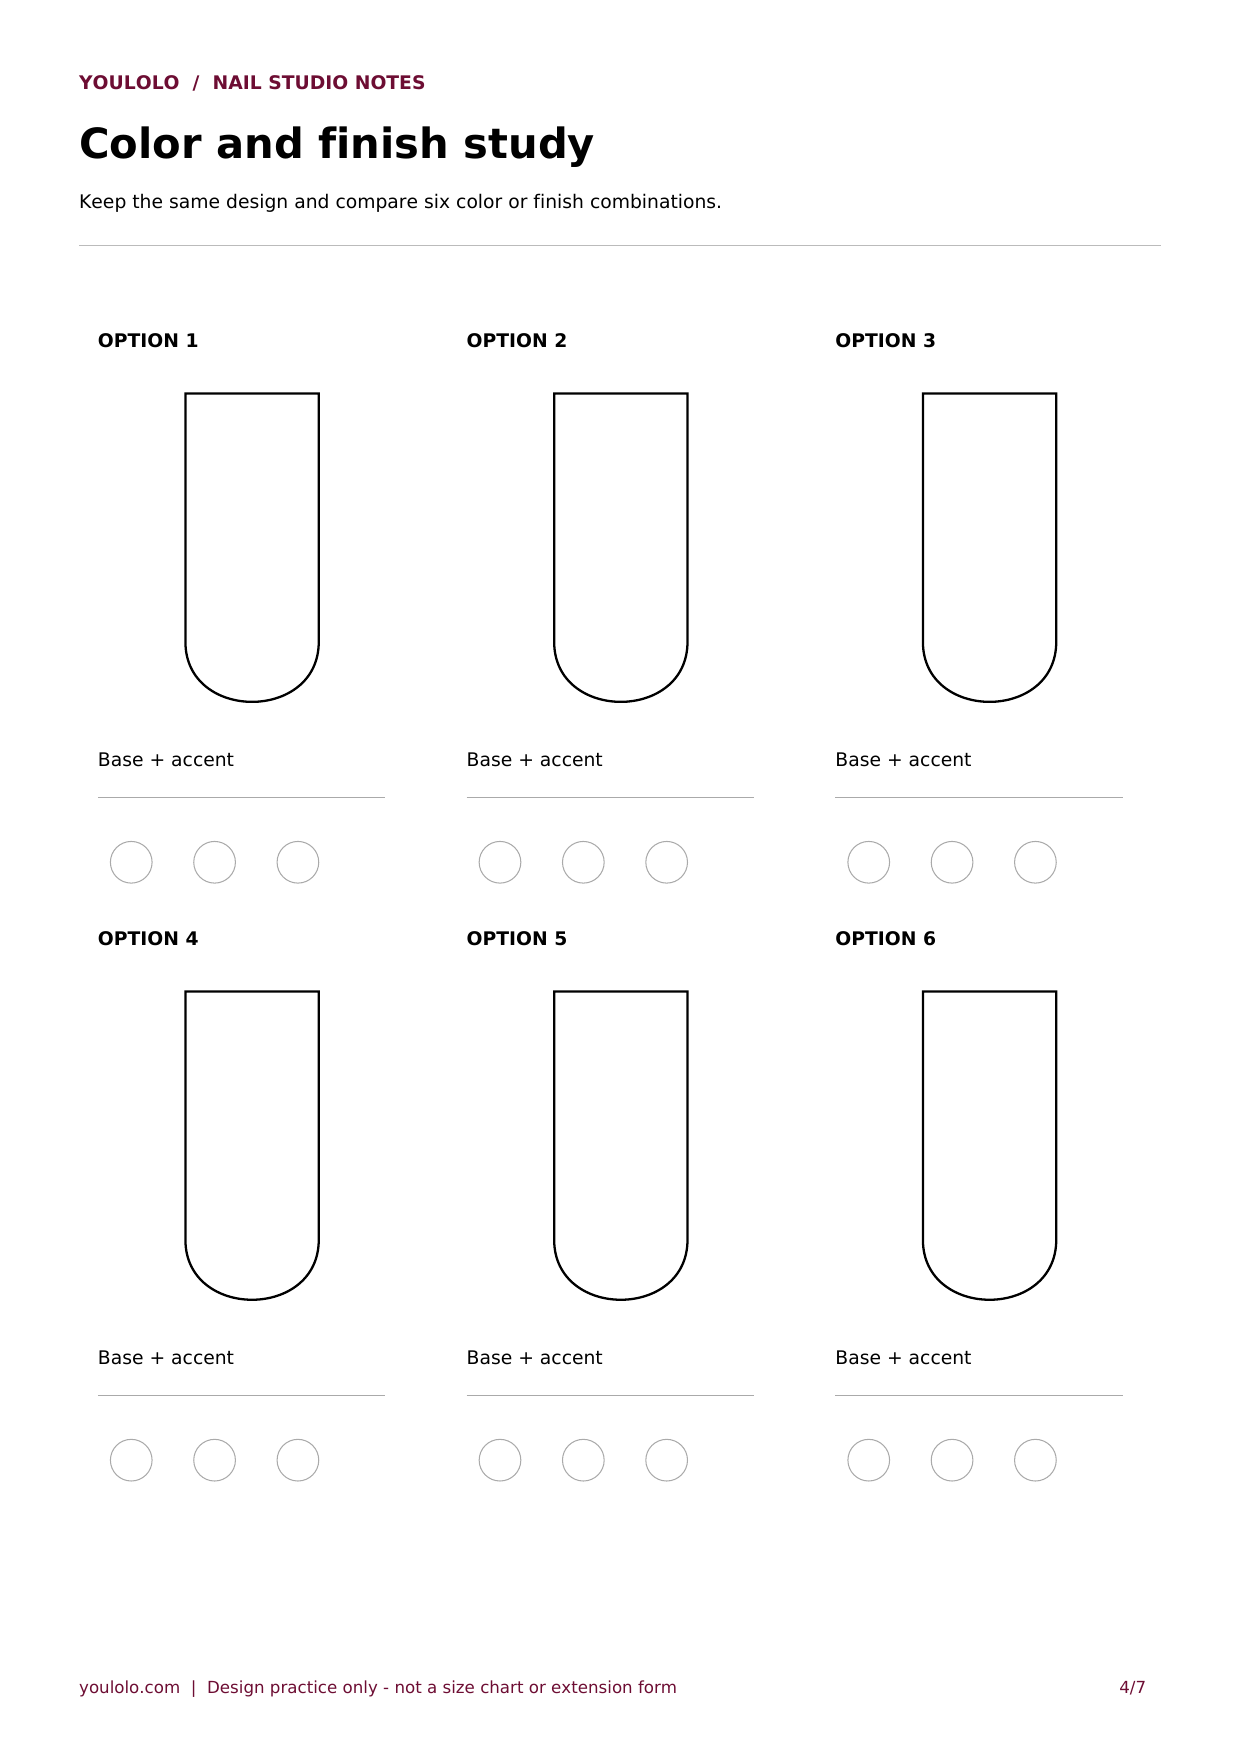
Six outline slots let you compare palettes without changing the whole design. Write the base and accent colors, use the small circles for swatches, and note the finish you have in mind. You might compare blush with white flowers against milky pink with pale yellow centers. Written finish notes matter because a flat pencil sketch cannot reproduce chrome, glitter or a cat-eye reflection. Keep a separate photograph of the finish you want to discuss.
5. Both Hands, One Plan
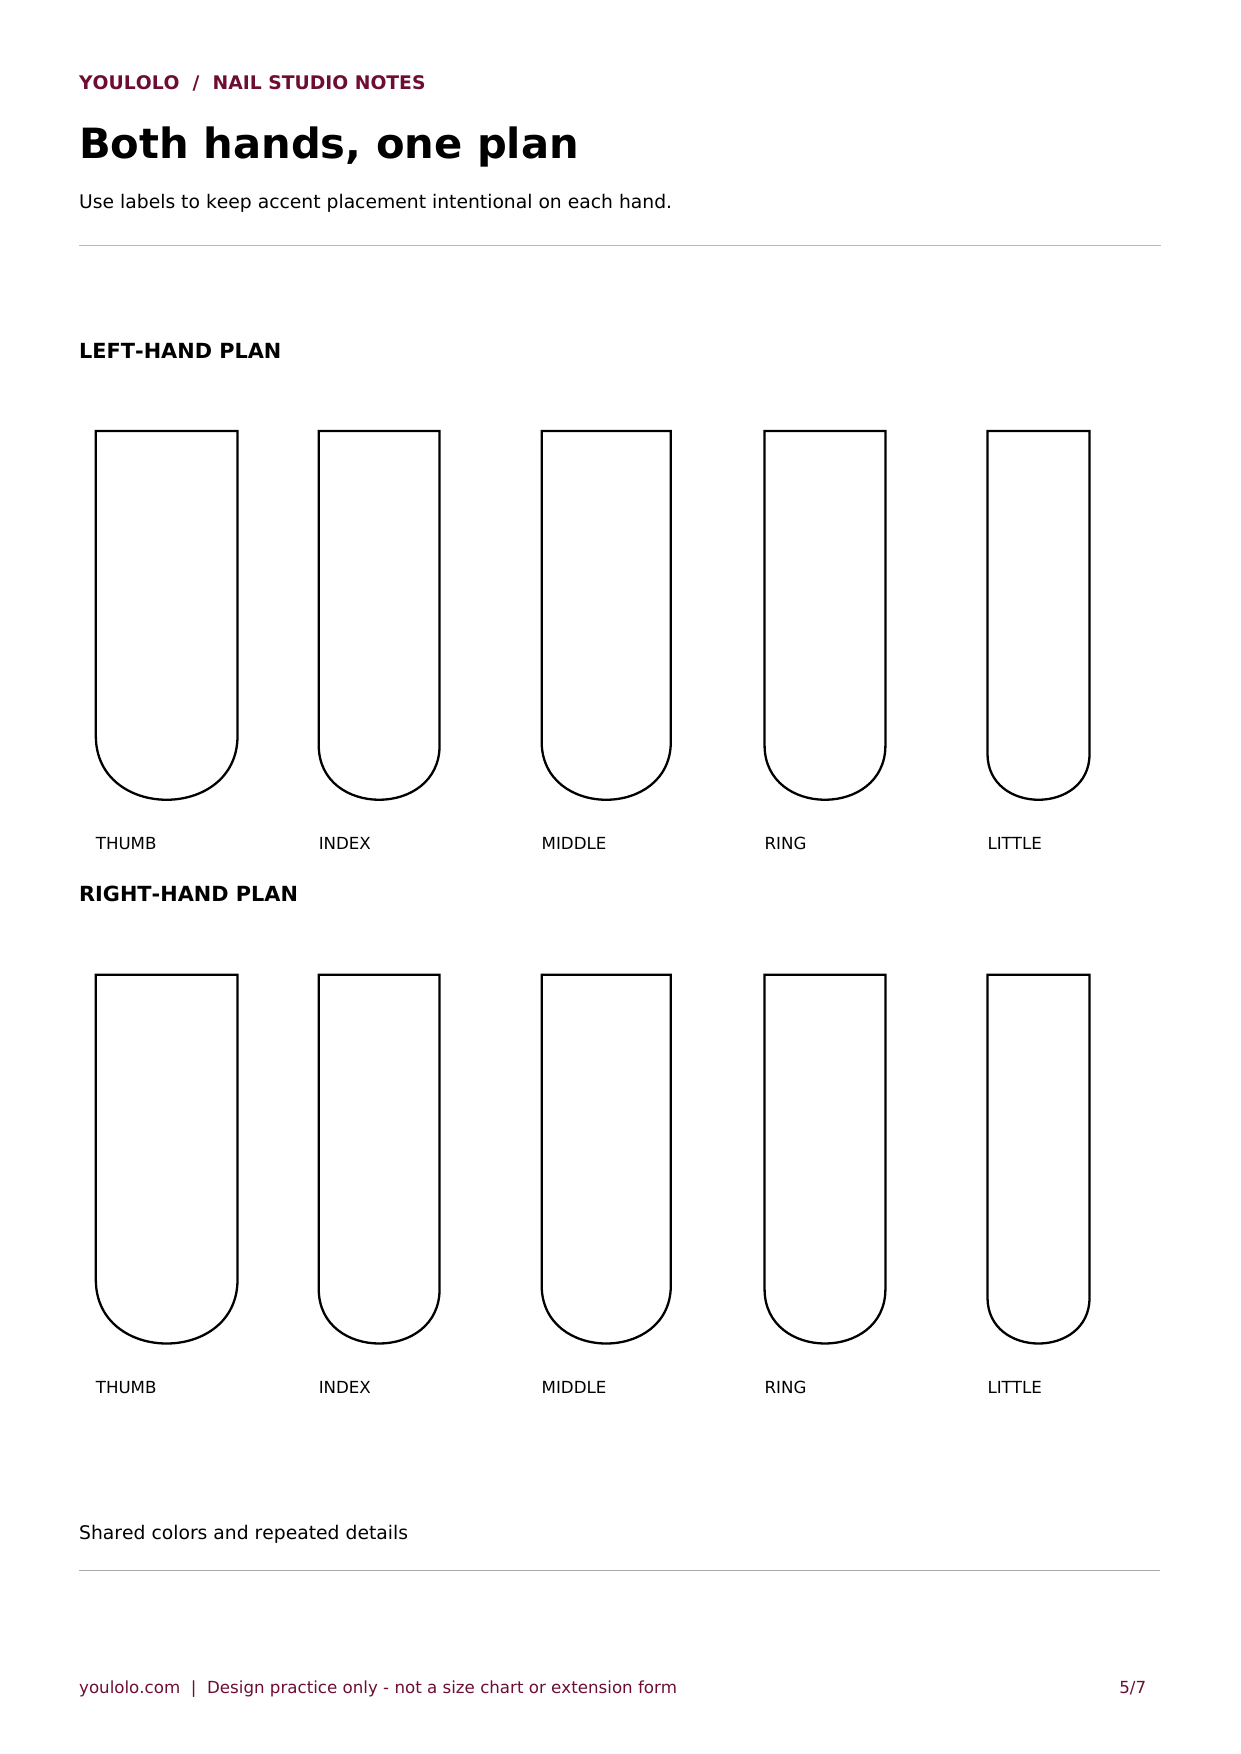
Use the labeled left- and right-hand rows to decide how the two hands relate. You can repeat an accent on both ring fingers, mirror a flowing line or leave one hand simpler. The rows are planning slots rather than an anatomical illustration, so follow the finger labels. Record the shared colors at the bottom to make the connection explicit. This is especially useful when one reference shows only a single hand and leaves the other undecided.
6. Motif Practice Grid
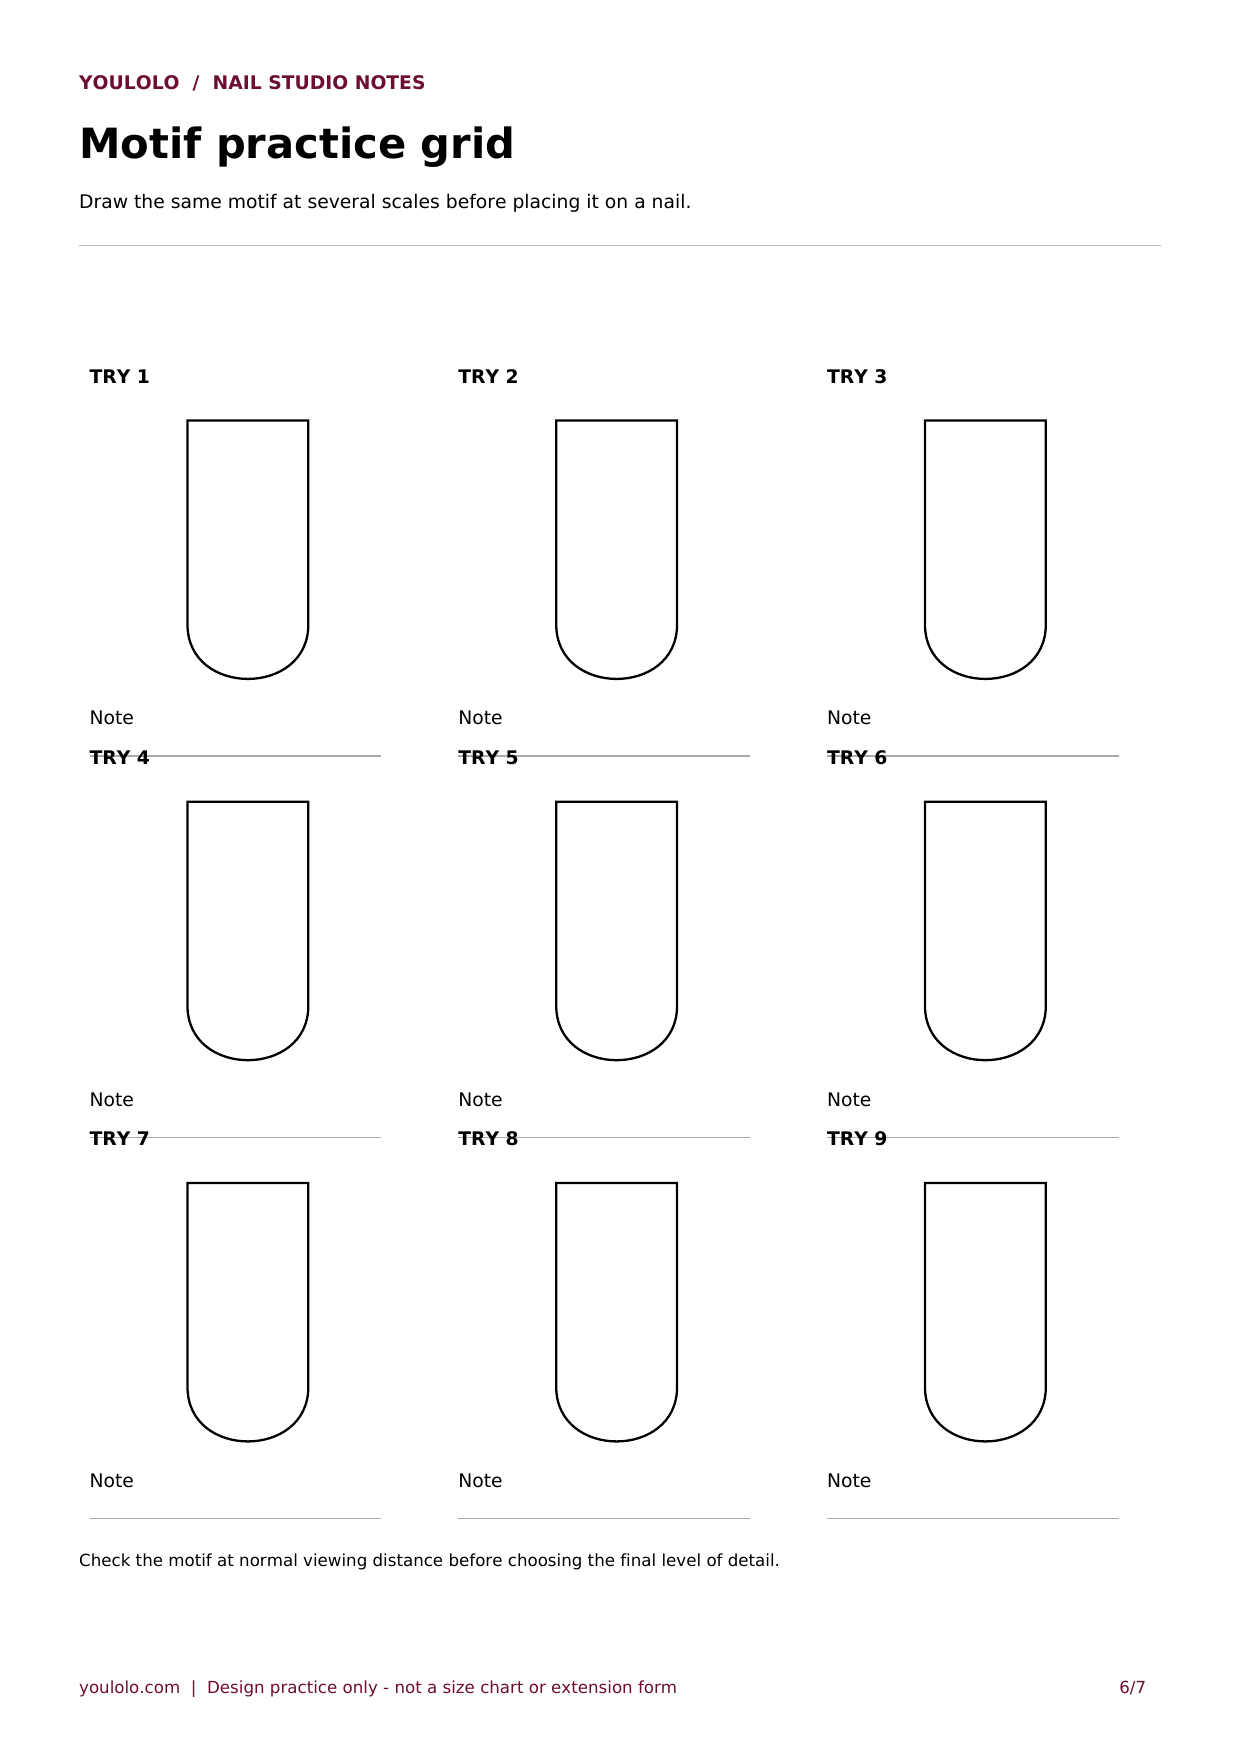
The nine smaller outlines are for repetition with a purpose. Try a flower with fewer petals, a bow with more open loops or a heart at three different scales. Change one feature at a time and add a short note under each attempt. Look at the page from farther away before selecting the final version: a design that reads clearly only in an enlarged close-up may need simplification. The grid is for drawing practice, not a promise of identical results in polish.
7. Appointment Design Brief
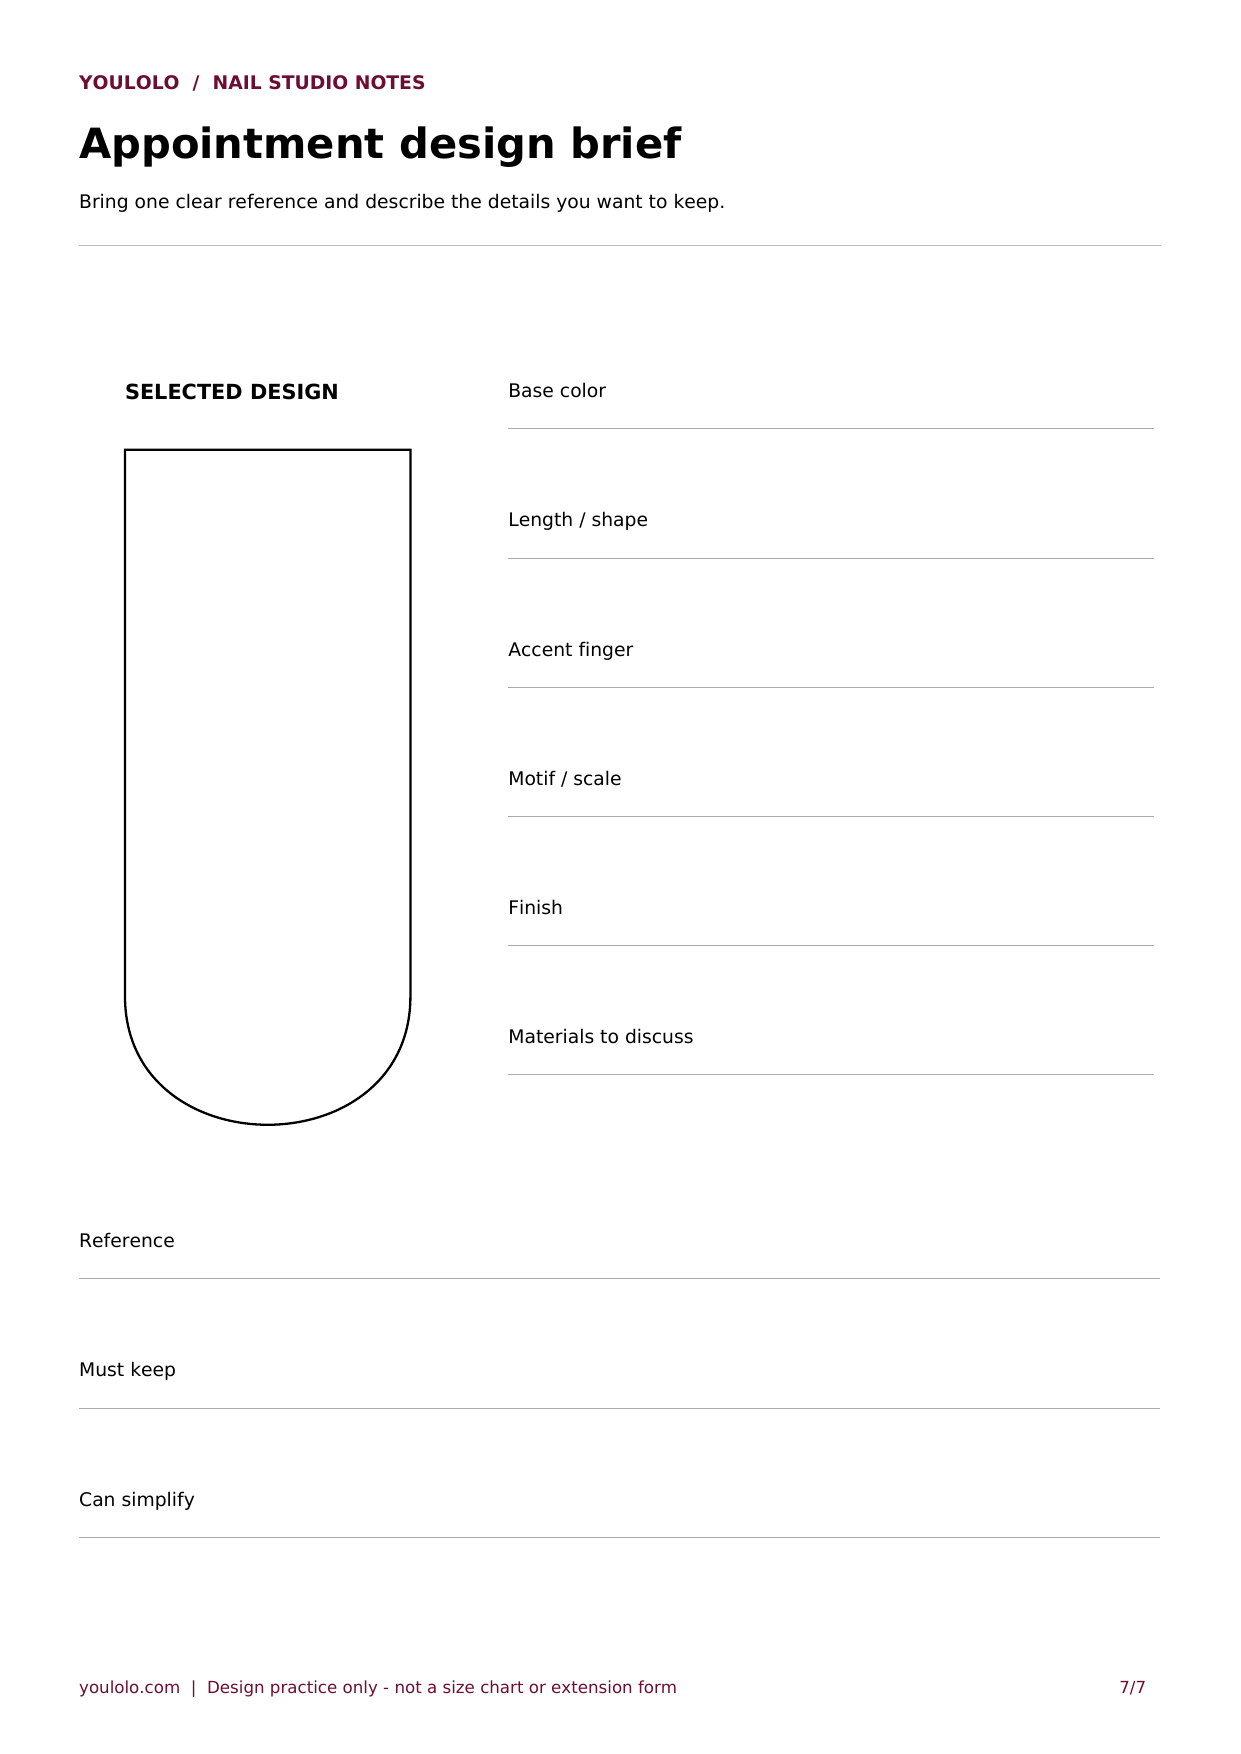
Bring the selected design together on one page. Use the large outline for the focal nail and fill in the base color, length, shape, accent finger, motif scale and finish. Add the reference you want your artist to see. The two final fields separate what must stay from what can change. For example, the pink-and-white palette and one daisy may be essential, while the number of small petals can be adjusted to the actual nail surface.
Worked Example: A Pink Manicure with One Daisy Accent
Begin on the five-nail sheet and mark a milky pink base on all five outlines. Put a small white daisy on the ring nail and leave the other four plain. Note a glossy finish. You now have the structure of the set without having to draw every detail perfectly.
Move to the placement sheet and compare one flower near the base with one centered flower. On the color sheet, test a pale yellow center against a warmer gold-colored center. Keep the flower size the same so the color comparison remains meaningful. Choose the version that stays recognizable with enough pink showing around it.
Finish with the appointment brief: milky pink, one white daisy on the ring finger, a small yellow center and plain nails elsewhere. Add a photograph of the preferred pink and the desired nail shape. Your sketch explains the composition; those references explain details that pencil alone cannot show.
Make the Sketch Useful, Not Perfect
Limit the first version to two or three colors and one main motif. Leave visible space between separate elements, and draw alternatives in different outlines instead of layering every possibility onto one nail. A simple sketch with clear notes is easier to discuss than a heavily decorated page with no priority.
Before the appointment, select one primary version and keep the alternatives behind it. Tell your artist which parts you are happy to simplify. The template helps communicate preferences, while the actual nail surface and chosen materials determine how those preferences can be translated into a finished set.
Long Square Nail Template Questions
Are these outlines actual nail sizes?
No. They are enlarged planning shapes and may change size when printed. Do not use them to measure nails, fit press-ons or construct extensions.
Can I use the sheets digitally?
Yes. Save the full-page image and import it into a drawing app. Keep the outline on a separate layer or retain an untouched copy for the next design.
Do I need to complete all seven pages?
No. Start with the sheet that answers your question. The five-nail plan is useful for a full set; the French comparison is more direct when only the tip style is undecided.
Will a sketch show the exact finished shine?
No. Add written finish notes and a separate visual reference for chrome, cat-eye, pearl or glitter. A flat outline mainly communicates color placement and composition.
Can I adapt the plan to shorter nails?
Yes, as a concept. Reduce the number or scale of details and discuss the final proportions with your artist. The long outline is not a requirement to wear the same length.